How To Enable & Configure Google Chrome Autofill Settings
Chrome Autofill feature is enabled by default, but in some version, it’s disabled. So, to configure Chrome’s Autofill, one needs to enable the function from the settings. Check out the best method to enable Chrome Autofill.
Step 1. First of all, open the Chrome browser.
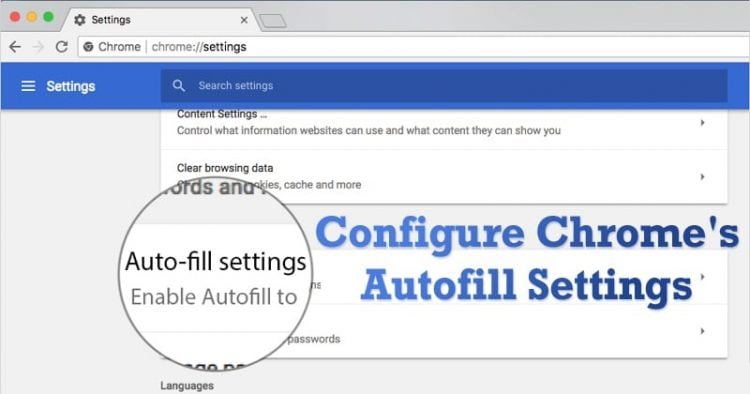
Step 2. Now click on the menu and select ‘Settings.’
Step 3. There you will find an ‘Autofill’ section. It will have three options – Passwords, Payment methods, Addresses, and More.
Step 4. Click on the Password and enable the ‘Offer to save passwords’ option.
Step 5. Now under the ‘Payment Methods’ enable ‘Save and fill payment methods’. If you want to add new payment methods, click on ‘Add’
Step 6. On the Addresses and more, you need to enable ‘Save and fill addresses’. To add your own addresses, click on the ‘Add’ button.
That’s it! You are done. Now just restart the web browser for the changes to take effect.
So, this article is all about how to enable & Configure chrome autofill 2020. I hope this article helped you! Share it with your friends also. If you have any doubts related to this, let us know in the comment box below.
Comments are closed.